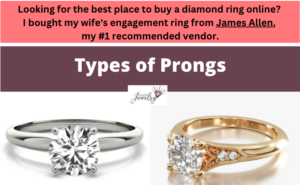
Prong settings are one of the most common ways to secure a diamond on a ring.
They strike the balance between showcasing the table, crown, and pavilion while also protecting the diamond from any hits or drops.
But even if you’ve chosen a prong setting for your ring, your decision doesn’t end there.
In this article, we’ll explore 10 types of prong settings, including:
- V-prongs
- Flat tab
- Six-prong
- Shared
- And more
Let’s dive right in.
1. V-Prongs
V-prong settings are named after the shape of its prongs.
Most prongs have a solid round or square face, but V-prongs have a slit down the middle that separates it into two parts.
The notch forms a V so each side can grasp a different edge of the diamond.
In most cases, they’re used for diamonds with sharp corners like princess or marquise cuts.
Take this 14K rose gold engagement ring (from the vendor where I bought my wife’s engagement ring) as an example.
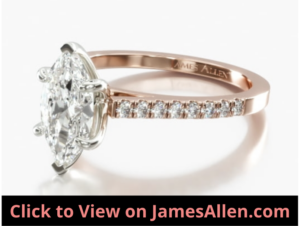
The marquise diamond is held in place by six prongs. The two on the ends are V-prongs.
If you zoom in on the image closely, you can distinguish between the ones on both ends and the four others on its sides.
It’s more effective for the prongs to wrap around those edges than to sit on top. It exposes more of the diamond and complements the other four prongs that are flat on top.
V-prongs also put less pressure on the diamond.
If other types of prongs are set incorrectly, they press too hard on the diamond, leaving it vulnerable in places where there are inclusions.
Settings with V-prongs avoid this problem because it’s grasping the edges.
A disadvantage is the edges are sharp. They’re more susceptible to catching on clothing during everyday use.
This may bend the prongs backward and loosen their grip on the diamond.
You also won’t find them on round-cut diamonds. The two sides of V-shaped prongs don’t have a natural way to grip the rounded edge.
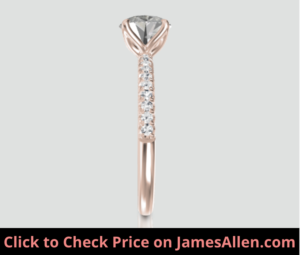
2. Round Prongs
Round prongs are the most common design.
When viewed from the top, they appear like buttons holding the diamond in place.
They’re aren’t invasive, which helps maximize the diamond’s appearance and light performance. Unlike other types, round prongs don’t extend far over the girdle.
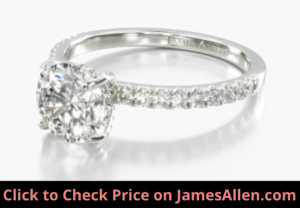
Here’s an example of round prongs on a 14K rose gold diamond ring.
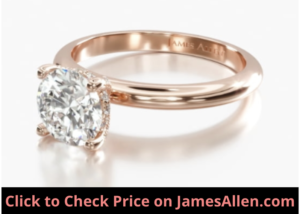
The prongs start from the top of the shank and extend upward.
They sit so close to the edge that the diamond doesn’t appear secure. But this is intentional to avoid covering its facets.
The style isn’t limited to round-cuts.
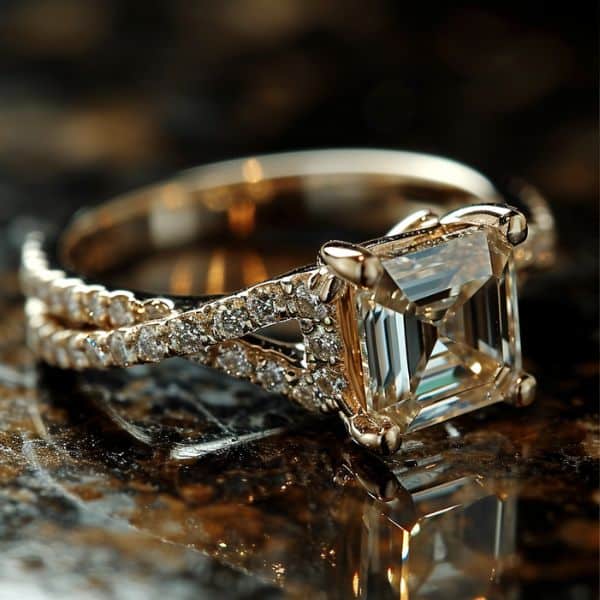
Check out this four-prong solitaire setting that holds an emerald cut.
On each corner, there’s a round prong gripping the beveled edge. It works because emerald cuts have a straight edge between the corners where the prong can grasp.
On diamonds with sharp corners like princess or baguette cuts, round prongs aren’t the right fit.
To add more sparkle to the piece, many buyers include pavé lining the shank or a halo surrounding the main diamond. There’s no conflict between these designs and round prongs.
3. Claw Prongs
Claws prongs are distinguished by their pointed ends that extend over the girdle to grip its crown. They start wide at the base and narrow as they approach the end.
By zooming in on the image below, you can identify this feature.

Claw prongs mimic talons.
This style reaches further over the diamond compared to V-prongs and round prongs.
On the one hand, this is a downside because you want to leave as much of the diamond exposed as possible.
But the way this type of prong compensates is through its thin design. It’s a minimalist style, where the surface area at the points is less than many other types.
It’s why they’re a popular choice for diamonds less than one carat. With a small surface area, you want to minimize how much is covered by prongs.
The sleek aesthetic of claw prongs is an effective solution.
Claw prongs fit almost every cut.
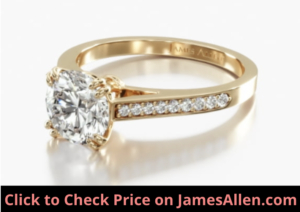
For example, here’s a cushion-cut diamond ring held by claw prongs.
They’re positioned on each corner for a cohesive aesthetic.
You could also use them for oval, emerald, radiant, or round cuts.
It’s worth noting that claw prongs are often more expensive than round ones. It’s more difficult to mass-produce their shape.
4. Double Claw
A popular variation of claw prongs is double claw prongs.
Instead of four instances of a single prong gripping the stone, they’re placed in pairs of two for a total of eight.
Like many other designs, double claw prongs are available with any type of metal from yellow or rose gold to platinum.
One advantage of double claw prongs is security. It’s a way to hold the diamond tightly without covering too many of its facets.
Although the extra set of prongs provides security, that’s not an essential feature. A single set of claws will suffice.
You might also use double claw prongs to hide inclusions. These blemishes on a diamond take the form of feathers, black spots, twinning wisps and more.
If one is noticeable in the corner of a diamond, you can cover it with the prongs.
Double claw prongs can also feature additional diamonds on the shank or around the main one.
Take this setting as an example.
It’s a round-cut diamond held by double claw prongs with pavé cascading down each side.
It’s a way to not only create a sleek aesthetic but to add more brilliance as well.
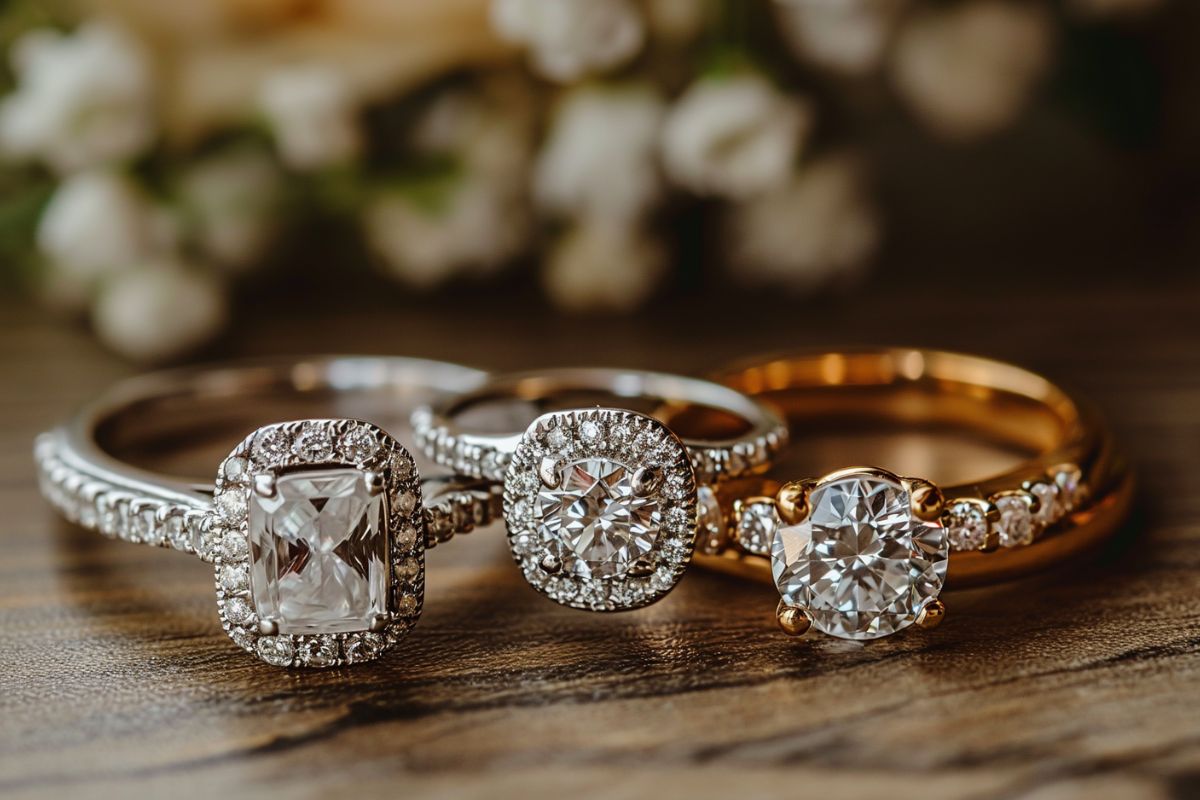
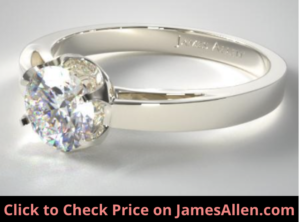
5. Four-Prong
Four-prong settings are named after the number of prongs holding the diamond.
It’s the most popular number used because it provides the necessary security while not covering too much of the diamond.
The standard style of four-prong settings is positioning them equidistant around the diamond, whether it’s a round, princess, emerald, or cushion.
But there are two ways of setting the prongs that each offer a distinct look.
The most common configuration is setting the prongs at the 2, 4, 8, and 10 o’ clock positions. It causes the ring to have a squarish appearance.
By placing them at the North, South, East, and West positions, it gives the illusion of a larger diamond.
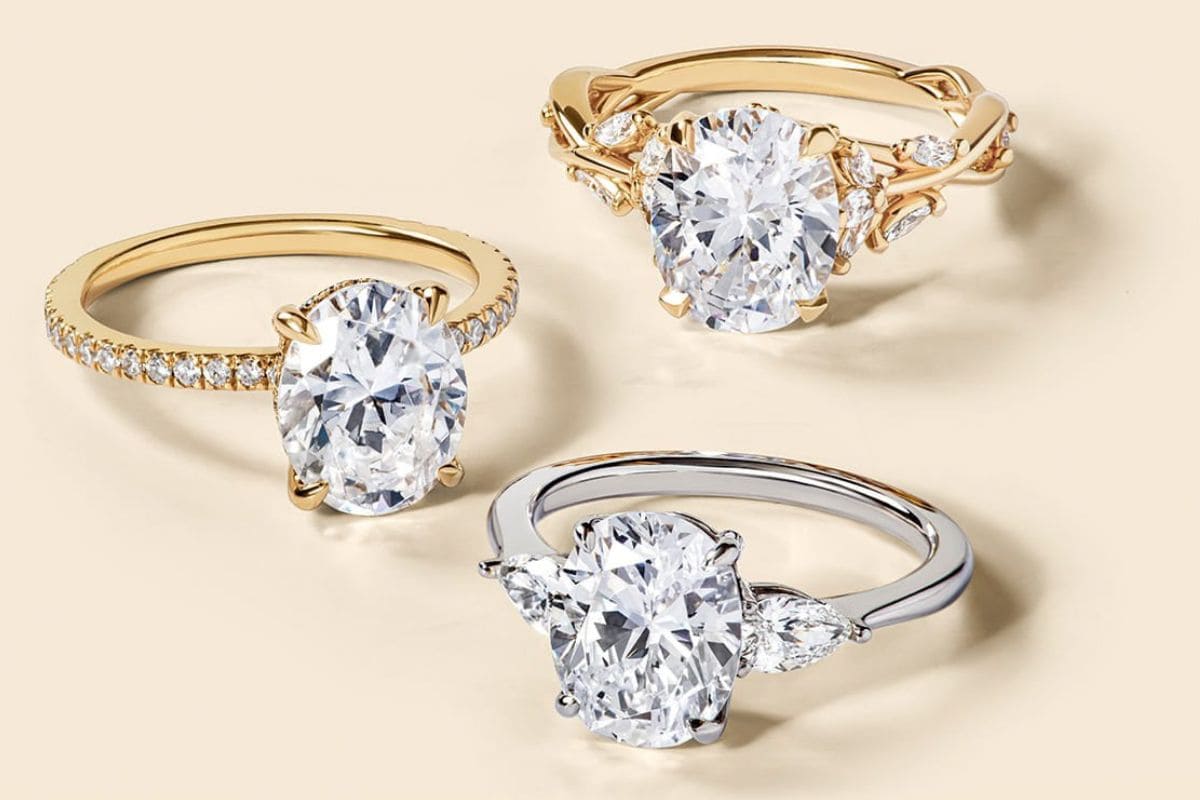
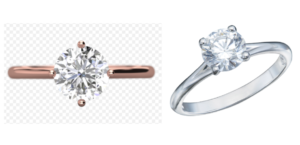
Here’s an image that illustrates the contrast between the 2, 4, 8, and 10 o’ clock design (right) and the North, South, East, and West (left).
When used as part of a solitaire setting, it’s a simple design that doesn’t distract from the main diamond.
If you’ve chosen four button prongs, they almost go unnoticed because it’s what people expect.
But diamond rings with four-prong settings don’t have to follow the typical style.
You can alter its appearance through a fancy shape and diamonds surrounding the main one.
6. Six-Prong
Six-prong settings secure the diamond with an additional two prongs. They’re still equidistant apart, but there’s a shorter distance between them.
The exact position depends on the cut.
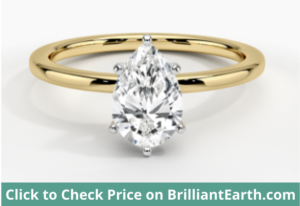
On a pear-cut diamond, one prong sits on each end, and there are two on each side of the wider part. I’ve posted an example below.
One reason buyers choose a six-prong setting is for more security. In a four-prong setting, one loose or bent prong could cause the stone to fall out.
In a six-prong setting, even two prongs could loosen and still hold it.
They also protect the girdle, which is the area that separates the crown from the pavilion.
If you’ve chosen a diamond with an extremely thin girdle, you could consider a six-prong setting to prevent durability issues.
The final upside of six-prong settings is they have the potential to cause the diamond to appear more round. Pongs set closely to each other create a tight, cohesive look.
But I don’t recommend this style for diamonds less than 0.75 carats. A high number of prongs surrounding a small diamond covers too much of the table and diminishes its brilliance.
This same advice applies to double claws that have eight in total.
Six-prong settings are also more difficult to clean and maintain because there are more areas to trap dirt.
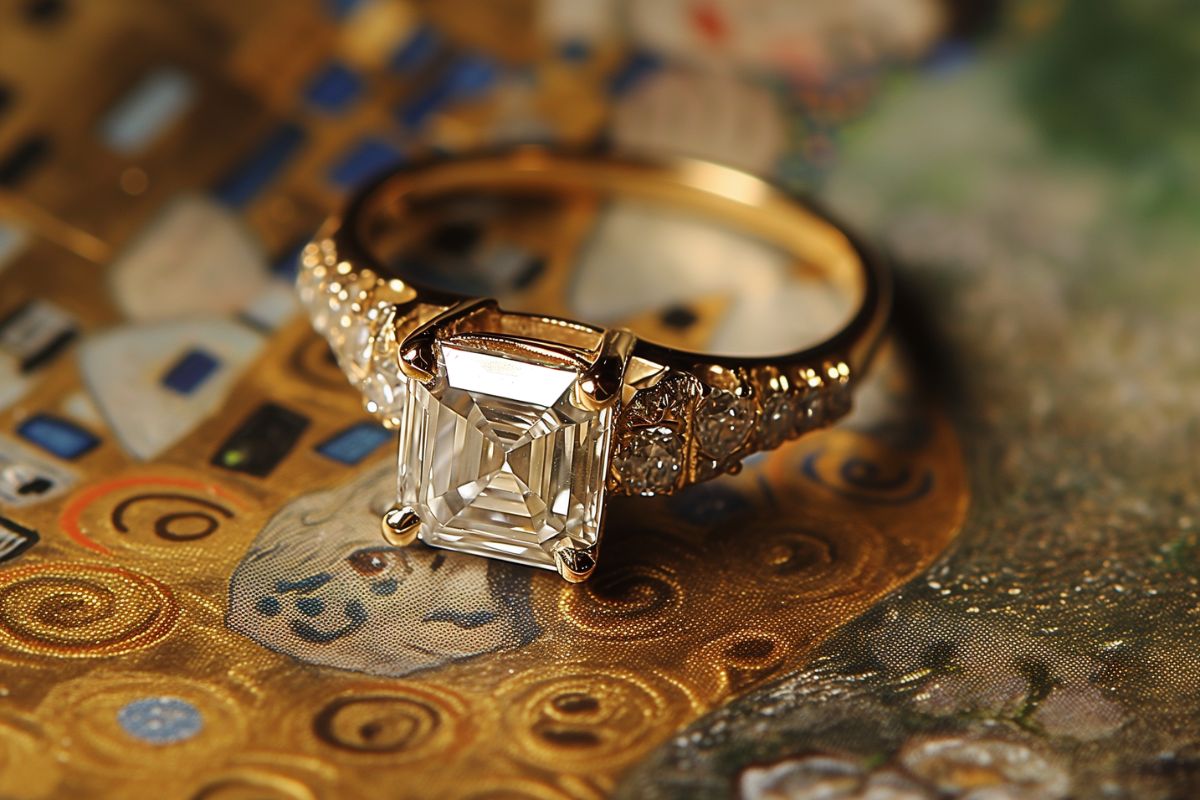
7. Flat Tab
Flat tab prongs hold a diamond in a similar way as other styles. Four or six prongs start from the top of the shank and extend over the crown.
But if you view the piece from the top or head-on, you’ll notice they’re flat on top and lay closer to the diamond.
Check out the above engagement ring on the vendor’s website, and rotate it 360 degrees to learn how it appears at each angle.
Flat prongs often cover a larger surface area compared to variations like claw or V-prongs. It reduces brilliance because there’s fewer visible facets to collect and return light.
But one reason buyers choose them is because they’re less likely to snag on clothing or other everyday items.
Not only is it pressed tightly against the gem, there isn’t a sharp end like on a claw prong that more easily catches.
That could cause the prongs to bend upward and loosen the diamond.
Flat tab prongs are fit for multiple cuts. Whether your diamond ring features an Asscher, princess, or emerald cut, this style can secure them all.
You’ll also find settings that combine them with other types of prongs.
For example, a heart-cut may have flat tab prongs positioned around the diamond but a V-prong at the bottom to hold the pointed end.
It’s unusual for a diamond to feature multiple styles of prongs, but there are exceptions with certain cuts.
8. Tulip
Tulip prongs are a distinct style of setting where the diamond sits in a flower-shaped basket.
The design begins at the top of the ring, where the curved prongs extend upward to form a basket. In most cases, there are four or six interconnected prongs.
Instead of leaving much of the diamond exposed to enhance brilliance, tulip prongs often cover the pavilion but leave the table open.
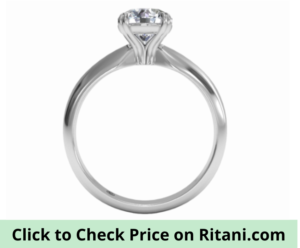
In other cases, the pavilion is left exposed.
In the image below, I’ve rotated the ring so you can view it from the profile.
It’s easy to see the pavilion because there aren’t any prongs hiding it.
Tulip settings aren’t a popular choice for engagement rings, but they offer a sense of elegance not found with a traditional style.
It isn’t about maximizing light performance or showcasing as much of the diamond as possible. It’s about the piece as a whole and finding a version that goes beyond the classic solitaire.
If you’ve chosen a princess or other square-cut, opt for a four-prong tulip setting. For round or oval cuts, consider six prongs to further define its shape.
Tulip prongs can also feature diamonds on the shank.
In fact, placing accents on the prongs leading up to the diamond is an effective way to improve the sparkle in a ring that otherwise doesn’t glimmer as much.
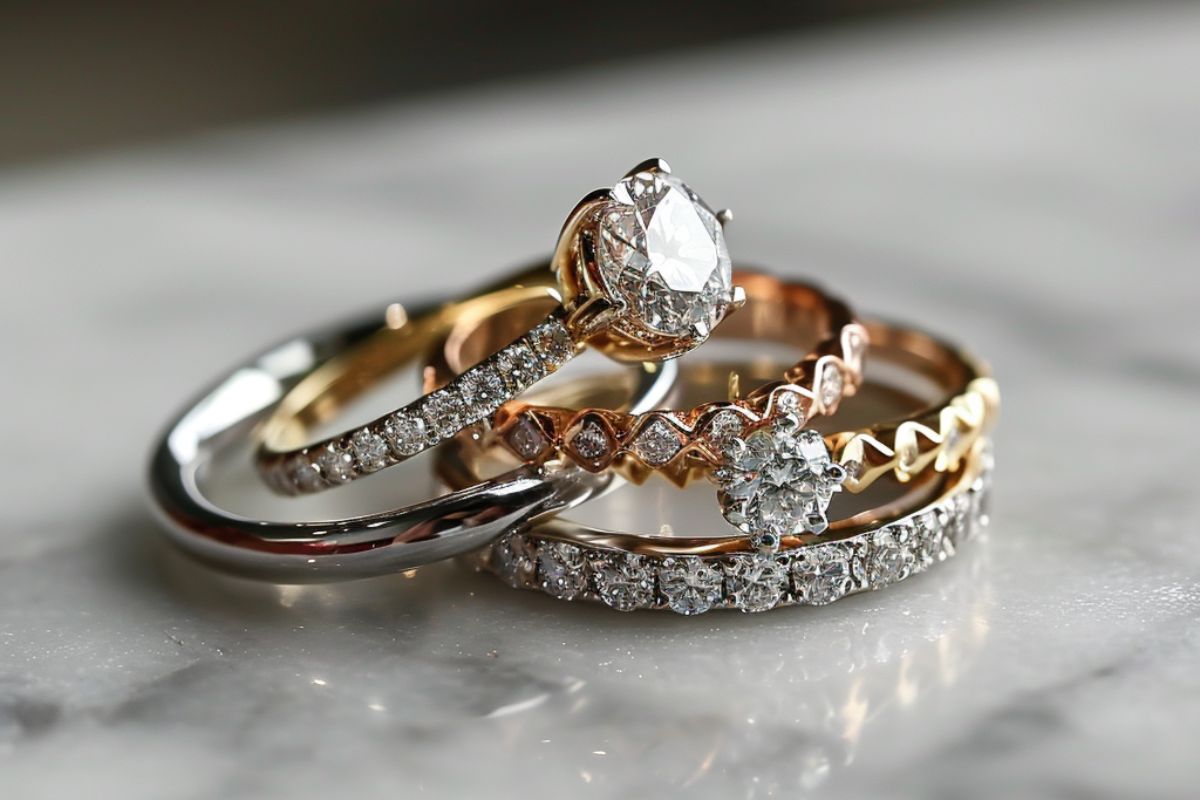
9. Shared Prongs
Shared prongs are an alternative style. Instead of a single diamond on top of the ring, shared prongs are often found along the shank.
Adjacent diamonds share two prongs. The goal is for the prongs to blend in with the piece so they aren’t as visible.
Shared prongs are also found in engagement rings.
Take this example.
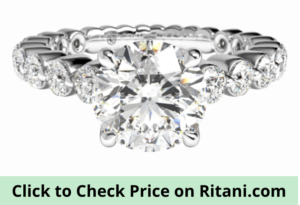
In addition to the main gem, there are 18 diamonds with shared prongs. Nine round-cuts surround each side of the center diamond.
The main diamond still commands the most attention, but it’s an alternative to the traditional solitaire design.
This method of adding diamonds to the ring is distinguished from pavé and channel because there’s space between them. The shared prong sits in the middle to separate them.
But similarly, it’s an effective way to increase the total carat weight of the piece without the price increase that would result from a larger center diamond.
Although the setting costs more than a solitaire, it’s more affordable than a heavier gem in the middle.
The ring will sparkle from every angle, and the shared prongs will hide between each of the diamonds.
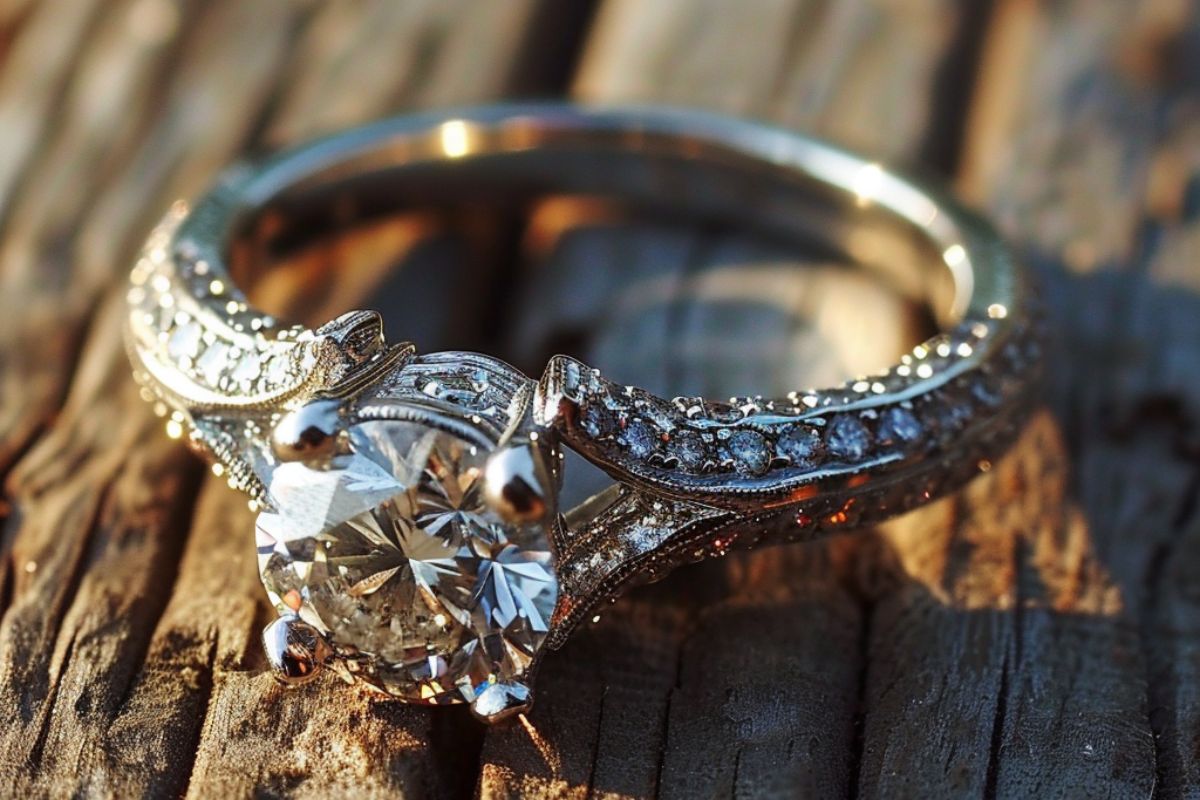
10. Custom
You don’t have to settle for any type of prong listed above. There are also custom options to fit your style.
You might decide you want prongs that resemble a certain shape or include additional diamonds not found on typical designs.
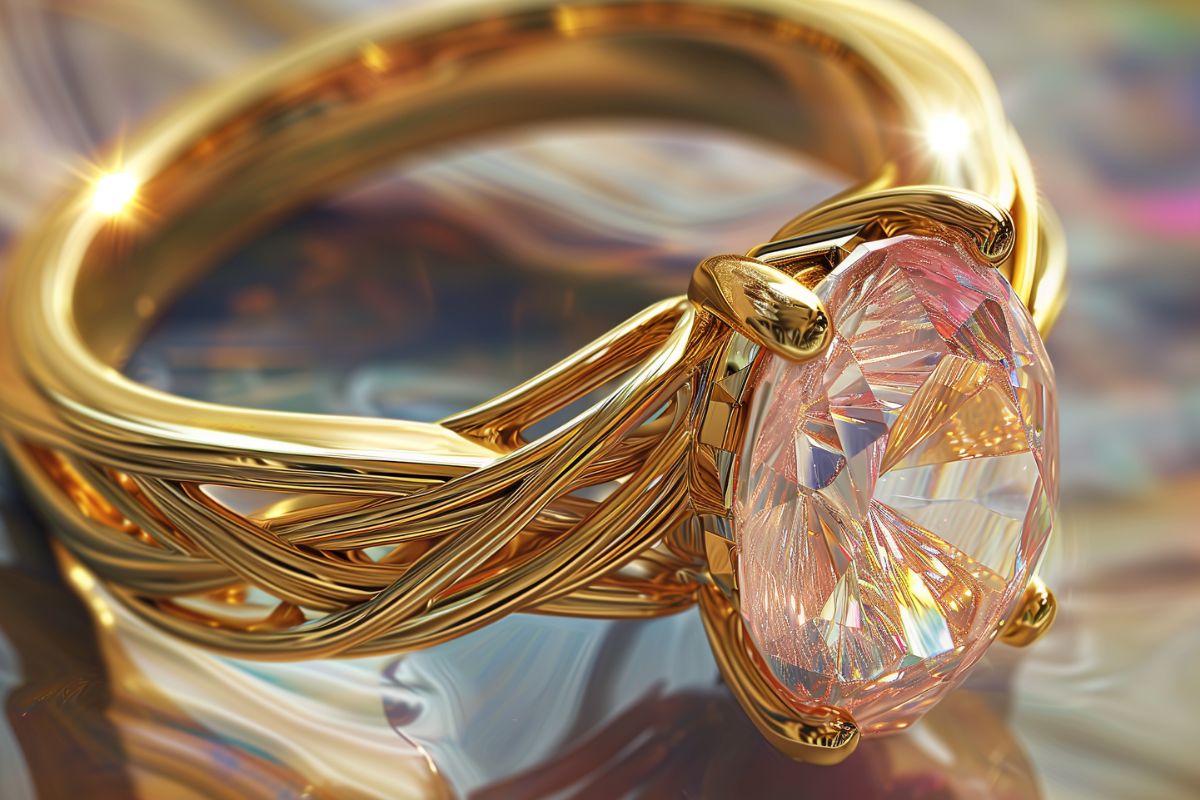
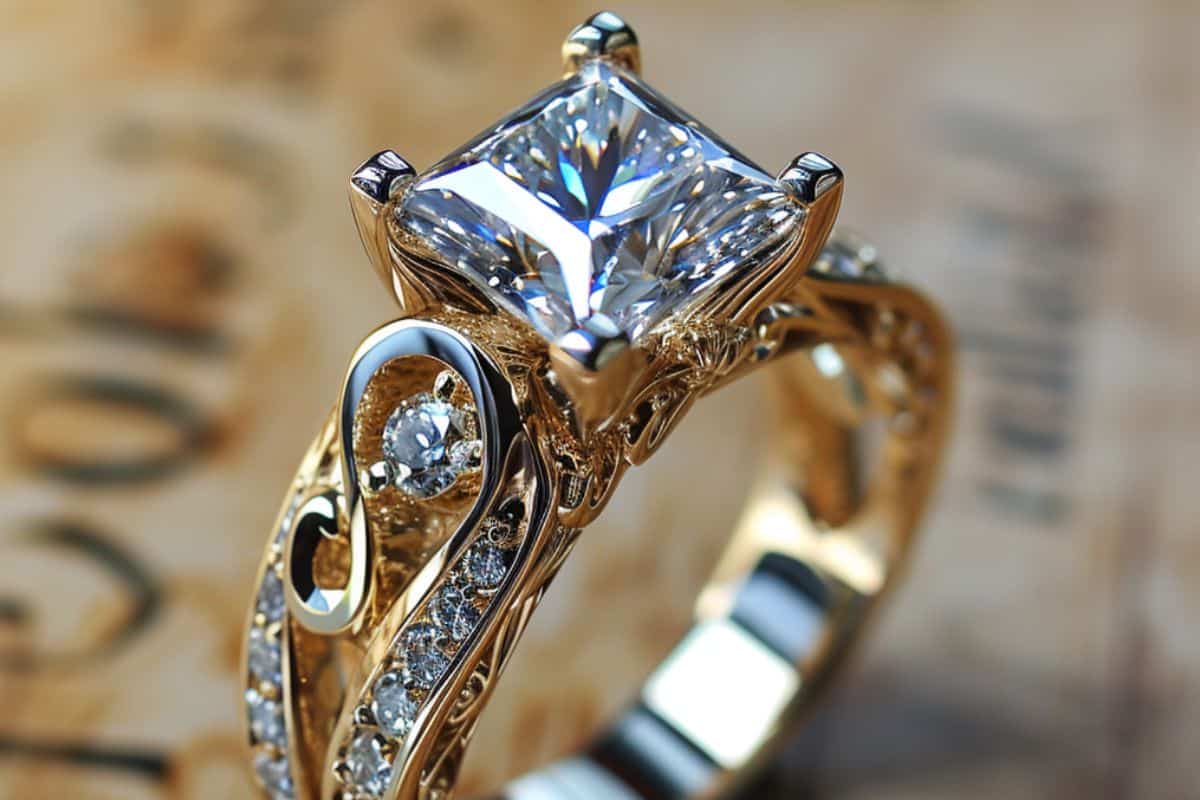
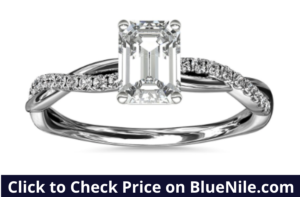
For example, check out this one.
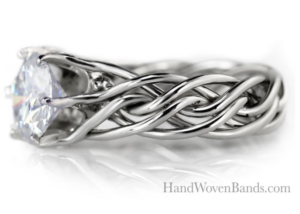
The prongs are interwoven all around the ring as they lead up to hold the diamond. It doesn’t fit a traditional category of prongs, and that’s the point.
It’s a custom design you can’t find at your average jewelry retailer.
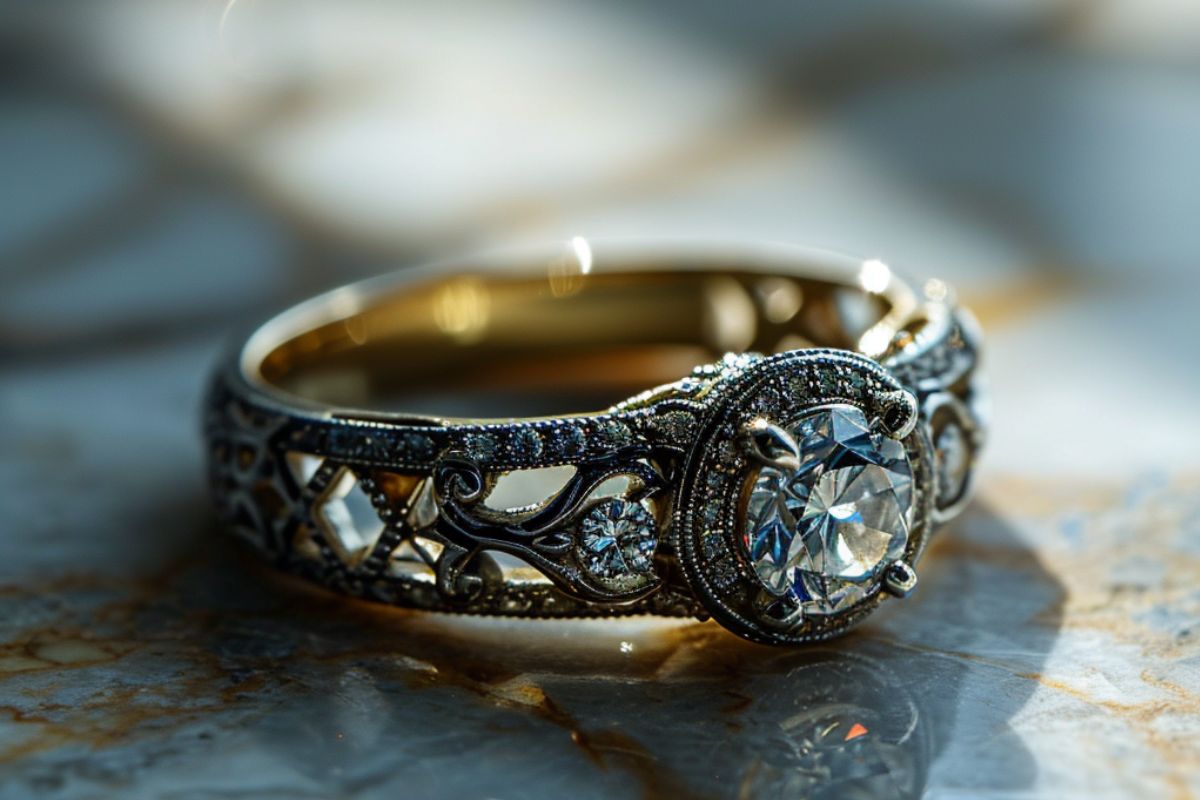
Here’s another illustration of the possibilities within prong settings.
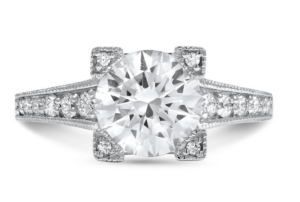
In four positions around the round-cut diamond, there’s a smaller diamond surrounded by three-prongs. It’s a unique style that crowds the main gem with other diamonds and milgrain.
Visit a local jeweler to learn their options for customization. While the big box retailers might not have as much leeway in their designs, if you’re set on a particular style, you can likely find a jeweler who’s willing to make it for you.